Audio Recording with Mic Note

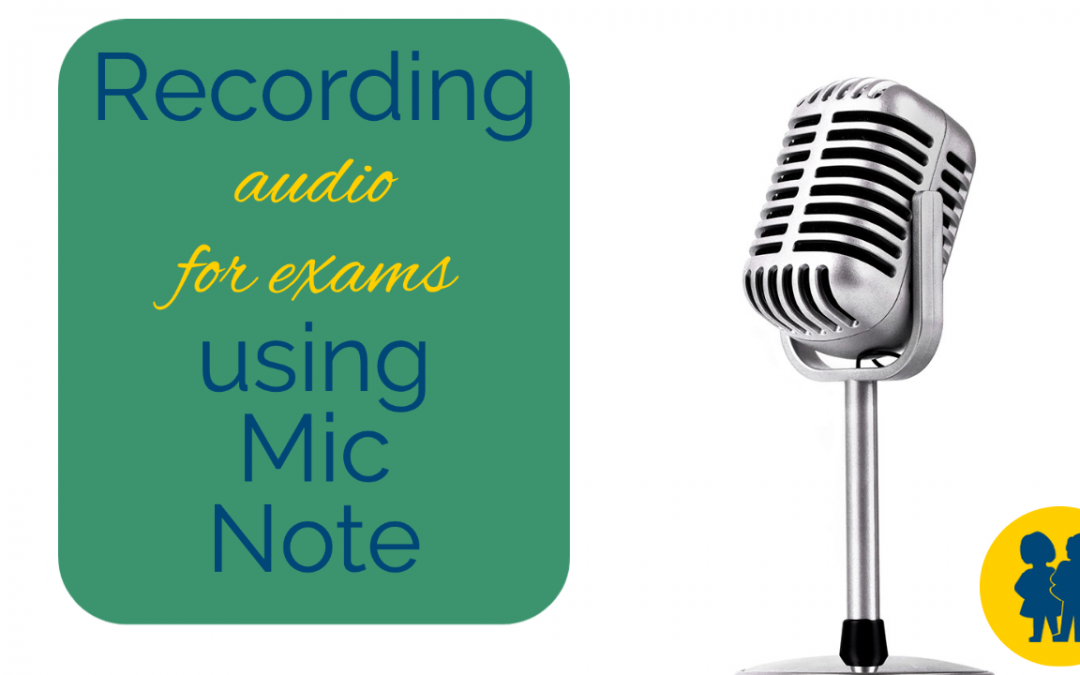
Audio Recording with Mic Note

I was wrong!

The first time I took a look at Mic Note for recording audio clips to assist our students who struggle with reading or have written language or other disabilities, I thought that it was clunky and awkward.

After much searching for a perceived better option, and coming up blank, I returned to Mic Note, only to realize that I was wholesale wrong about it.  It offers more than just audio recording, which is amazing, but for the purposes we want it for in CESD, it’s brilliant!

Among my first misconceptions was my assertion that it was difficult to record in .mp3 format, and awkward to direct to Google Drive. Wrong.

The key advantages it offers over other audio utilities are important details for educators.

Firstly, it allows for up to four hours of recording time. None of us require that much for school uses, but we definitely need more than 5 or 10 minutes as the outer limit, which is where most other applications cut the recording off.  Some sources for exams take longer than 10 minutes to read aloud.

Secondly, it can be set to store the recordings directly into your Google Drive, making them yours forever. This is another advantage over the “competition”. There are some decent applications out there – Talk & Comment and Vocaroo come to mind right away – but they store your audio on their server and delete it after an amount of time has passed. This means that for all the time it takes to record the audio, a year down the road when you wish to reuse the resource with your students, you no longer have access to your recordings from last year, or even last semester. That’s no good!

Thirdly, Mic Note allows you to edit your audio as you are in the process of recording. So, if you get your tongue in a knot reading aloud, and you need to try again, Mic Note facilitates this easily.

So, I hereby retract my earlier position about Mic Note, and I highly recommend it.

Here’s a video outlining how I recorded an English 30 exam for students requiring the accommodation, and the templates for the two exam booklets can be copied to your Google Drive through the templates section of the CESD Teachers Share Website.


1,000 Free Audio Books

1,000 Free Audio Books

Open Culture offers thousands of resources that are free of copyright, and can be used by anyone. Their list of classic books informs users where the free resources are to be found, and in the case of the audio books, it specifies if the file can be downloaded from Audible (free app for iphone and android), iTunes, Spotify and other MP3 options.

This is a great site for high school English students to peruse should they need or want audio support for their novel study portions of their classes.

Embed Audio Files in Google Doc

Embed Audio Files in Google Doc

This tutorial will cover a FREE and EASY method to add audio files into a Google Doc. This tip allows teachers to read the questions for their test in advance, and embed the audio files into the document.

WHY??
Students who struggle to read will be able to complete their work without having another person present to read aloud to them, will be able to work at their own pace, and can return to questions as needed.

HOW??
1) Install the Google Drive app to your smartphone. Log in to your CESD account.
2) Create a folder in your Drive called Audio Files
3) Create a subfolder in this new folder and give it the name of the test you will be reading.
4) Move the test into the folder (failing to do this step will break the audio links when you move the test folder into the Team Drive for Myles to create testing accounts for!)
4) Using the audio recording application on your phone, read each set of instructions or questions aloud SEPARATELY. You will have a bunch of audio files once you’ve read each instruction, source and question aloud separately. (On an iOS device, the audio recording app is called “Voice Memos” and it comes factory-installed.)
5) Upload your audio files to the folder you created in step 3.
6) Find an icon online to represent audio to your students.
7) Insert the icon after each set of instructions, source excerpt or question. (Once you have it at a size you like, COPY-PASTE it!)
8) Open Google Drive in another tab and browse to the folder you uploaded your audio files to.
9) Right click on the desired audio file.
10) Choose “Get Sharable Link” – Google will copy the link automatically for you.
11) Right click on the icon and choose “LINK”
12) Paste the link

Repeat, repeat, repeat – but remember – once this is done, you never have to do it again!!!

BUT MY FORMATTING!!
You can make adjustments to the icon by choosing INSERT->DRAWING and shrinking the icon you selected in step 6 above in the drawing screen to better fit your allotted space.