Combatting Online Learning Fatigue

Keeping students engaged in online learning can be challenging. The Google Meet Fatigue is real, and teachers experience it too. Online fatigue is real. Distracted students are real. Teacher frustration is real. So what do we do?!?!
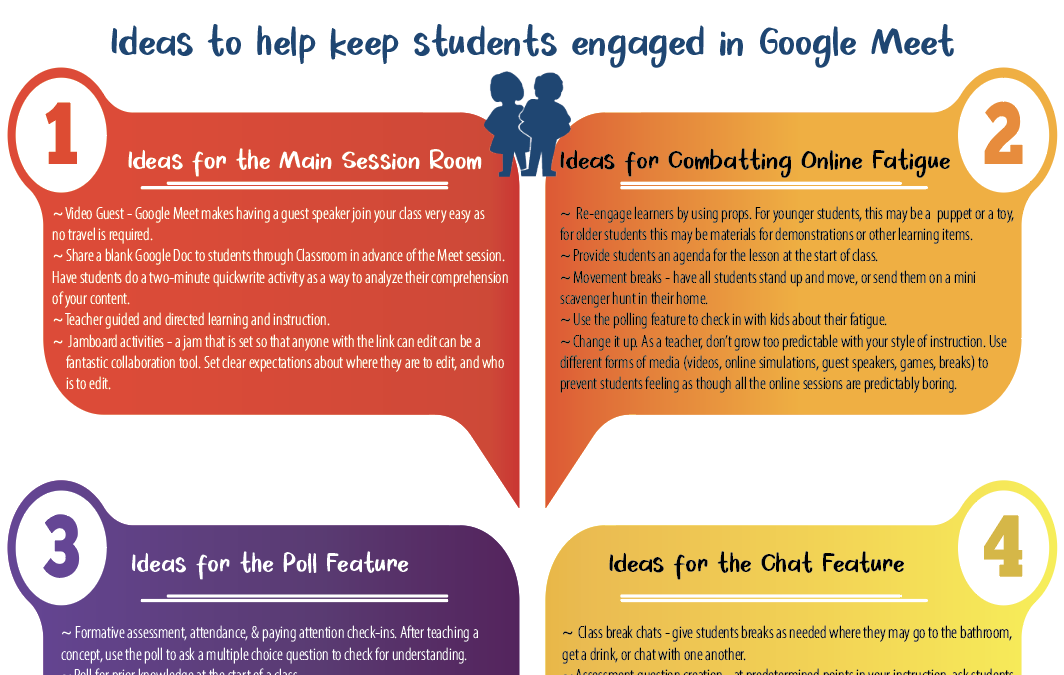
Thankfully there are a few ideas and techniques teachers can bring to bear to try to spice it up and keep both ourselves and our students engaged.
The infographic presented here was built from a variety of resources, including the book Engaging Learners Through Zoom.
Click the image below to access the .pdf of ideas!!