Organic Chemistry Practice Problems

Though the site is not very visually appealing, it contains a relatively large database of practice questions for Organic Chemistry.


Though the site is not very visually appealing, it contains a relatively large database of practice questions for Organic Chemistry.


Exam creation is a time-consuming process for teachers, and historically many teachers have utilized software such as examview at great fiscal cost. We are pleased to show our teaching staff Problem Attic. Problem Attic is the largest bank of examination questions available to teachers, and even more amazing, it’s an online (cloud) FREE resource, so it is constantly updated, and new questions are regularly being added.
If you need to create a re-test for a student who bombed an exam, this resource may be exactly what you are needing!
Problem Attic lets you search for questions by topic. This eliminates the need to search the database searching for questions that fit your need, you can now draw those questions out quickly.
Problem Attic has recently added new select options on the arrange tab. This allows you to do any of the following:
Problem Attic permits you to change multiple choice questions to fillable questions, and it also allows you to separate questions into parts and subparts. This will allow you to insert custom answer spaces such as:
Problem Attic is great for outcome-based assessment. They refer to this as “curriculum development”, but as we have our Alberta curriculum already established by the ministry and we don’t need to develop our curriculum, we would use these tools to sort questions into their outcome categories.
Problem Attic allows for sharing your documents with other teachers. It will share in an editable format, so teachers you share with can make adjustments to tailor the material to their needs.


Help Teaching is a website where teachers can create printables for their classroom. The free version will allow you to make a test or quiz of up to 10 questions. There is content for all subjects and all grades on this site.


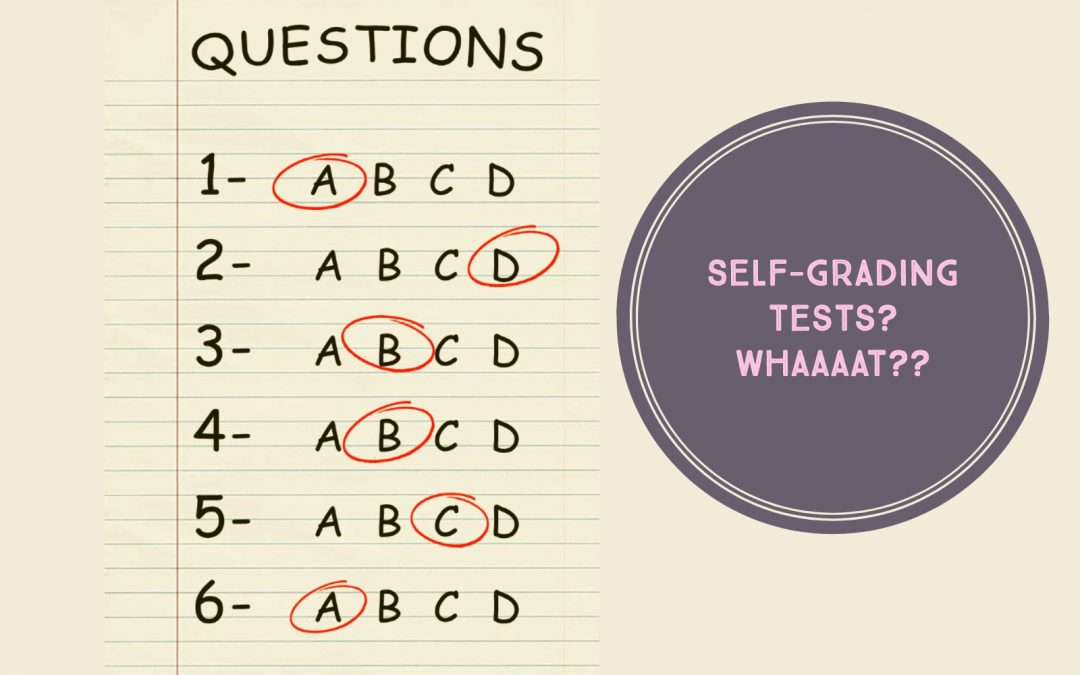
Make an answer key, assign points & add automatic feedback
You can make an answer key on certain question types:
Note: You can assign points and add feedback on all question types.
You can choose if people can see missed questions, correct answers, and point values.
You can see automatic summaries for all quiz responses, including:
If you collect email addresses, you can assign points and leave feedback on individual responses. After you grade each response, save your changes.
You can import grades all at once from Forms directly into Classroom’s Student Work page if you attach a quiz to an assignment.
If you import grades, all grades are imported. You can’t select some grades to import. Extended instructions can be found in Google’s Teacher Centre.